Showing posts with label lunch. Show all posts

November 25, 2013

Radicchio: Garden Series Part X

This will likely wrap up my 2013 garden series, which I'm happy to report was ten posts in total.


I finally made it out to the garden to clean it up a couple weeks ago, before the real winter weather rolled in. Under the mass of dried and dead tomato vines and the pole bean hedge, I found that I still had plenty of Swiss chard, sage, parsley, and thyme (no rosemary).  And radicchio!  What a beauty!


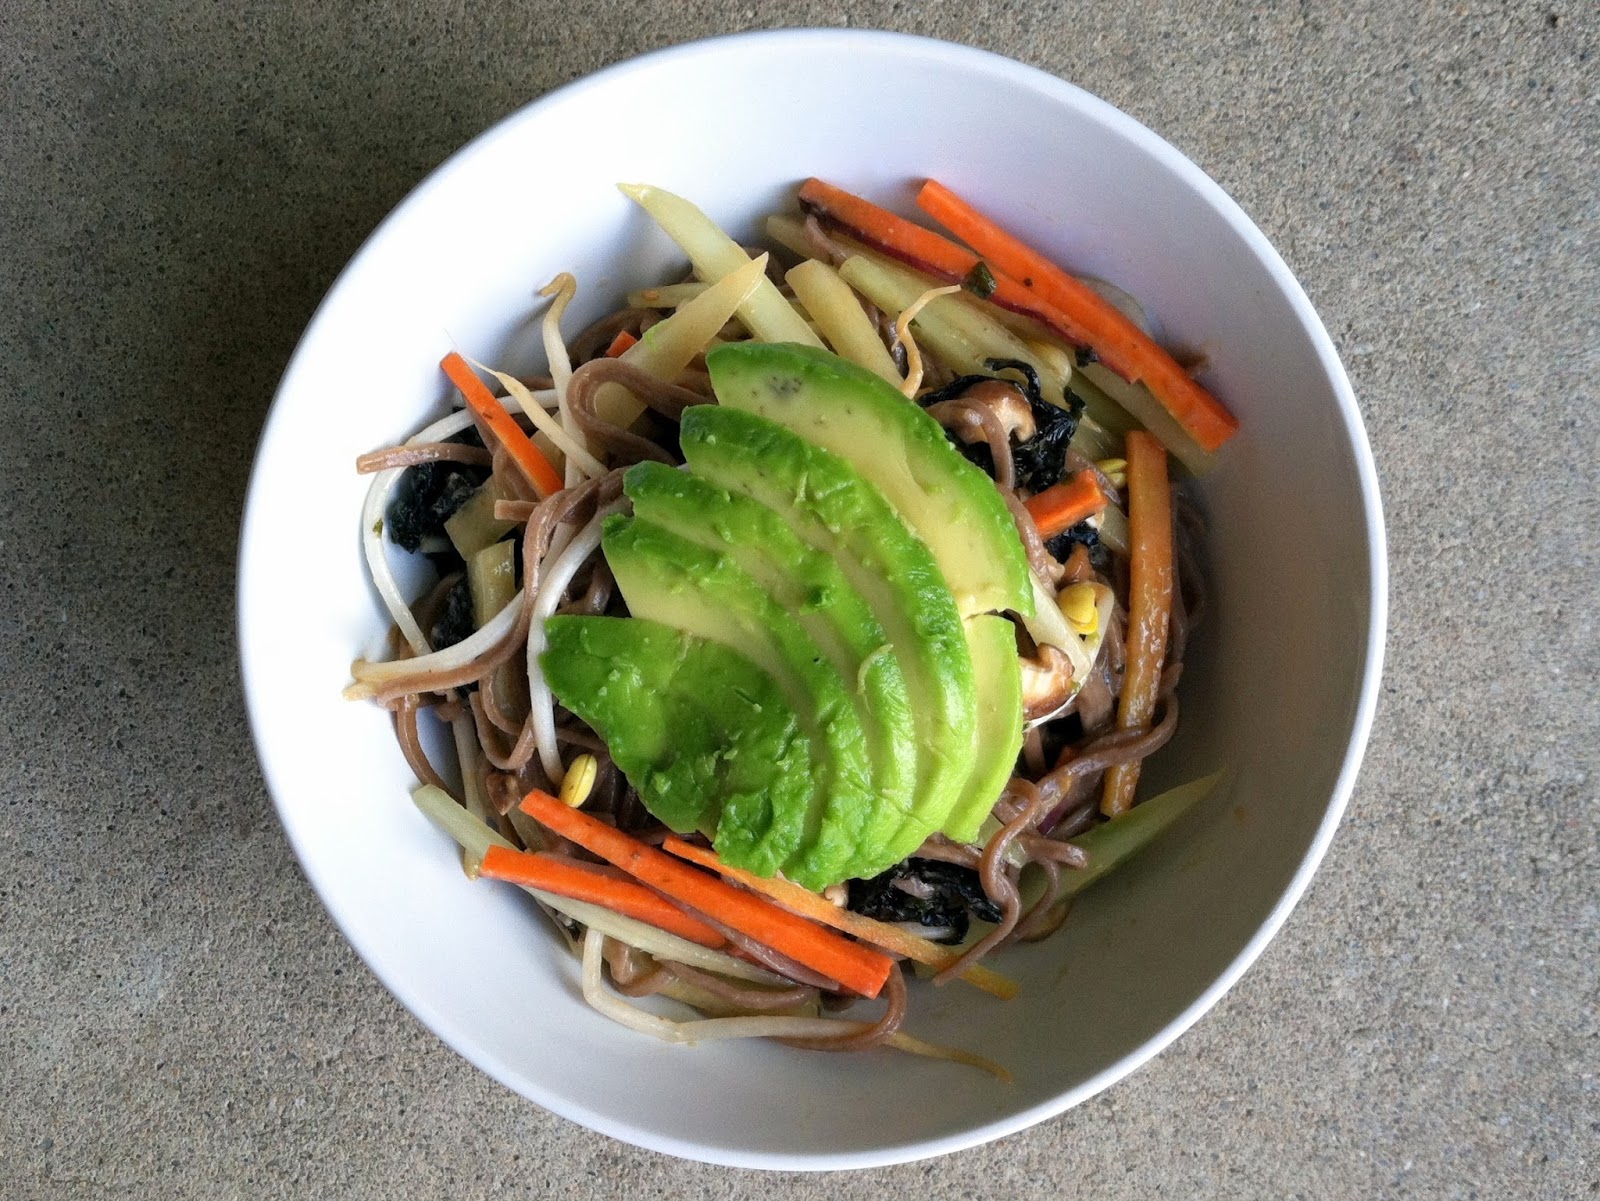
In standard store-bought salad mixes, I am not a huge fan of the thick, bitter leaves.  And although Italian eat radicchio regularly (hence its Italian name- and those are hard Cs there), I totally grew this one for its looks and it didn't disappoint.  It starts out as a hardy green that forms a head.  At one point, I tried sautéing these green leaves with salt and olive oil, but the dish was too bitter to eat - so much so, I started to wonder if the plant is actually poisonous at this stage.


Then I left the plants to themselves and they started turning their famous deep purple at the veins and edges. Quite beautiful, really.  I decided that once they turned full purple, I would try grilling or braising them... something to get some char on the cut side and to be served with vinaigrette.  It worked.


SIMPLE RADICCHIO, BROWNED AND DRESSED
  • 1 small head radicchio (or endive or romaine hearts)
  • Olive oil
  • Salt and pepper, to taste
  • 1/4 cup olive oil
  • 1/4 cup balsamic or apple cider vinegar
  • 1/2 t. dijon mustard
  • More salt and pepper, to taste
  • Parmesan cheese, to garnish (optional)
  • Polenta-No Burns, No Mess (optional serving suggestion)

Peel outer leaves off of the radicchio until you reach the clean, tight inner leaves.  Trim stem end and slice lengthwise in half.

Heat about a tablespoon of olive oil in a skillet (this skillet should have a lid that fits it for later) over medium-high heat.  Once hot, place the radicchio in the skillet, cut sides down.  Allow to sizzle for a minute, reduce heat to medium-low and cover.  Allow to cook for about 2-3 minutes and turn off heat. The radicchio will release a lot of moisture, so to avoid oil splatter, you can leave the skillet covered until sizzling subsides.

Meanwhile, put 1/4 cup olive oil and vinegar into a Mason jar or similar container. Add mustard, a pinch of salt, and a few grinds of black pepper.  Seal jar and shake well.

Remove the radicchio from skillet using tongs and place on top of polenta (or by itself on a plate). Season with salt and pepper, drizzle with vinaigrette (you'll have plenty leftover for future salads), and top with parmesan. The radicchio will still be slightly bitter, but should be balanced with the vinaigrette and have some nice, crispy edges from the browning.  Enjoy!


October 21, 2013

The Best Beets

Beets are one of those vegetables that make people think, "Oh, do I have to?"


While I've never disliked beets and have always been in love with their color, I was never really into them until I had this salad.  Beets and walnuts make such a lovely combination!  The tender beets, toasted nuts, and bright vinaigrette may just change beets for you, too.


Growing up, my experience with beets was mostly limited to my mom's "Blender Borscht," a chilled, smooth, and hot pink soup we would have alongside knaidlach.  This is also a very good way to eat beets, but it's not my go-to. The reason is not that I don't like it, because I do, but just that I forget about it.  It does require a blender and since I didn't have one for a long time, the borscht made a permanent home in the back of my mind...kind of like how I ignore recipes that require a microwave. However, I have a blender now and that borscht would make beautiful photos for this blog!

But back to the excellent salad...


BEET SALAD
  • 1# beets, with their greens
  • 1/2 onion, thinly sliced
  • 1/2 cup walnuts
  • 1 T. balsamic vinegar
  • 2 T. apple cider vinegar
  • 3 T. olive oil (or combination with walnut oil, if you have it)
  • 1 t. salt
  • 1/4 cup parsley
  • Fresh baby spinach or mixed greens, for serving
  • Blue cheese, chèvre, or feta, to top

Remove greens and scrub beets well. Place them in a large saucepan with enough water to cover. Wash a few of the greens, chop and set aside.  Bring the beets to a boil and cook for about an hour, until tender.  You can cover the pan if there is enough space between the water level and the top, or keep an eye on the pot and add water as the beets are exposed.

Meanwhile, toast the walnuts over low heat, allow to cool, chop coarsely, and set aside in a large bowl. In a small bowl (or measuring cup), combine vinegars, oil(s), and salt.  Set aside. 

Bring a small saucepan of water to a boil and parboil onions until just translucent, about two or three minutes. Drain in a colander and rinse well with cold water - even the extra-pungent onion I had smelled sweet and fresh and almost floral after parboiling!  Add the well drained onions to the vinaigrette.  While this is not absolutely necessary, I found that in the vinaigrette was a convenient place to keep the onions while waiting for the beets. They also picked up a little extra tartness from the vinegar, which was so nice.

Chop the parsley and add to the bowl with the walnuts, along with the chopped beet greens.

When the beets are fork tender, strain in a colander and run them under cold water.  Peel the beets and chop into large dice.  You could also do slices, but as I have mentioned before, I do not like unwieldy bites of messy foods. Respect your diner (even if that's you)!

Add the beets to the large bowl with the walnuts and greens.  Pour over the vinaigrette and onions and stir to combine well.  Allow to sit for about a half hour, to allow flavors to meld, but you can skip this step if you're hungry and need to get dinner on the table.

Serve over a bed of mixed greens and top with your choice of cheese.  I used blue cheese here, but feta is really great.  The supermarket closest to me only had dry, mediocre feta. Boo.  I love chèvre on pretty much everything. Enjoy your delicious beets!


*Oh, and remember that you had beets later on when you have to pee. (*Sighs with relief.*)

September 9, 2013

Garden Series, Part VIII: Carrots and Cucumbers

Recently, I was in the middle of a baking project and realized I had missed lunch.  Also recently, I went on an excursion to H-Mart in the suburbs with a dear friend of mine and loaded up on ingredients not found in the local grocery.  Such a good match, these two occurrences.  Throw in some garden produce, and you've got a late lunch. Or dinner, I'm not picky.


But not to worry, I'm not giving you a recipe with a bunch of hard-to-find ingredients.  In fact, it relies on the American standard of the sweetest, most-hydrogenated peanut butter, which I love despite all its failures.  Of course, you are welcome to use the natural stuff, if you have that sort of thing lying around.

Besides the Jiffy, the most exotic ingredients are soba noodles, Sriracha, and shiitake mushrooms - all of which one can find in the regular grocery store, but probably for twice the cost.  I'm not sure about the Sriracha, though, since I bought a huge bottle of it the last time I went to H-Mart and have never looked back.  It's basically an essential pantry ingredient.


In the pictures, you'll see a pile of fried seaweed with sesame seeds.  This stuff is seriously delicious, but probably far less likely to be found anywhere but the giant Asian grocery in the suburbs.  It turns out that it's best eaten as a snack on the side anyway.  I have no idea what's in it it either, but I'm pretty sure that it's manufactured to have an addictive balance of salt, sugar, and fat that makes it so you can't stop eating it.  You'll never know whether I'm snacking on it right now while I'm writing this.


As for the carrots and cucumbers, I highly recommend getting your hands on homegrown.  I know this isn't necessarily that easy, but homegrown carrots are the best.  They taste really, really good and if you eat conventional baby carrots from the supermarket, you will be really surprised at the carrot-y taste of back yard carrots.  I grow a variety of them because I am still fascinated by purple (Cosmic) and red (Atomic) carrots after my fifth garden.  I grow a few different cucumbers, but my long-standing favorite is Suyo Long.  It's a strange-looking variety that stays crisp, has few seeds, and refreshing cucumber flavor.


SOBA NOODLES WITH VEGETABLES

  • 1 bundle (serving) soba noodles
  • 2-4 shiitake mushrooms, sliced
  • 1/2 cucumber, seeded and cut into matchsticks
  • 1 carrot, cut into matchsticks
  • large handful mung bean sprouts, picked over and rinsed
  • radishes, or any other vegetable that sounds good (optional), cut into matchsticks/julienned
  • 1/4 avocado, sliced
  • olive oil
  • pinch salt
  • 2 t. peanut butter
  • 2 t. soy sauce
  • Sriracha, to taste

Cook soba noodles according to package directions.  Rinse well under cold, running water and allow to drain.

Heat a scant tablespoon olive oil in skillet over medium heat.  Add shiitakes and stir to coat with oil. Stir in salt and sauté until thoroughly cooked.  Set aside to cool.

In a small bowl, combine peanut butter, soy sauce, and Sriracha.  In individual serving bowl, toss together noodles, shiitakes, cucumbers, carrots, sprouts, and sauce.  Top with avocado.  Feel free to add more soy sauce and/or Sriracha to season to taste.

Serves one. 


*Later in the week I made a crazy delicious Bacon Pad Thai.  I took no pictures of it, but perhaps round two will surface in a week or two.

August 19, 2013

The Plan, or "Dieting"

I will be the first to tell you, I don't diet.


I'm of healthy weight and like to eat.  General concepts like "everything in moderation" and "eat food, not too much, mostly plants" work better for me than psyllium husks; non-fat, food-like products; and fake sugar.  I find the forced limitations of dieting to be damaging in more ways than beneficial.  Not to mention that the latest new thing will be negated in a few days or years and replaced by the next, with equal and exhausting enthusiasm.


On the other hand, I'm not too fond of my poor complexion or dry eyes or other discomforts that bother me from time to time.  And I have allowed myself to be convinced that if I find which foods might be causing these reactions in my body, I might just be able to clear them up.  How great would that be?

Well, perhaps not so great if it is determined that I react negatively to foods I love.  Like any member of the nightshade family or mushrooms or dairy.  Or wheat.  But, I already do not eat the foods I dislike, so I suppose that the culprits must be ones I enjoy.

Taking in all the factors, I have decided to complete a three-week regimen that is something like a modified elimination diet.  I repeat, I am not interested in losing weight.  I want to reiterate this fact, because I do not have a weight problem and have shocked at least four (well-rounded, intelligent, open-minded) people by stating that I do not have an innate "female" desire to be über-thin and consequentially well-liked by all.  I simply want to be healthy and feel good.


Luckily, the food I am eating throughout the regimen is satisfying.  Whole and low-reactive foods can still be delicious and, well, pretty!  Making my meals look good makes a huge difference when I'm missing lattes and pastries.  Or any of the celebratory LaMar Donuts that my coworkers brought into work last week (they're so good!).  It also helps that if I feel fine after eating wheat and dairy products this week, lattes and pastries are in my near future.  Woo-hoo!

It is somehow comforting that I did not feel fine after eating copious amounts of flax seeds last week.  Ugh.  I am supposed to start my day with a bowlful of "flax granola" (above), which is a morning routine I quickly came to dread...even the prettiness of it couldn't save that one for me.  Then I realized that me practically gagging on the stuff was some sort of a negative reaction and that I should probably eliminate this "fabulous" health food.  Since cutting this part out and replacing it with tasty things, like fruit and Silk Coconut milk, I feel so much better emotionally about breakfast that I feel better physically, too.  Yay!  First "diet" lesson learned.


Everything else has been satisfying and fulfilling.  It feels wonderful to have eaten 99% whole foods for several days, but to also feel full and eat good-tasting meals. It's nice to discover that recipes that sound boring, like julienned carrots and a shredded raw beet (above, with a candy stripe beet from my garden), are actually really great.

I'm learning to put together common-sense, balanced meals and am looking forward to the end of the trial period, when I can start developing my own recipes that are based on a solid, balanced theory of eating.  I think it will lead to some brand-new, delicious recipes for Omnivora!

Most importantly, figuring out what doesn't really work for me doesn't mean that anything is out of my life forever.  I can learn how to manage problematic foods in a way that allows me to enjoy them if I love them.  And that is what eating well is all about, right?


MANGO CUCUMBER SALSA
Adapted from The Plan, by Lyn-Genet Recitas*
  • 1 mango, small dice
  • 1 pickling or English cucumber, small dice
  • juice of 1 lime
  • jalapeño
  • sea salt
  • 1/4 cup cilantro, chopped (optional)

If you have a gas range (and I hope you do!), roast jalapeño over open flame, until well-blistered.  Set aside to cool.

Combine mango, cucumber, and lime juice in a bowl.  Mince jalapeño and stir into salsa, along with cilantro, if using.  Salt to taste and serve with anything you can think of...like fish or other meat, or tortilla chips, or broiled tofu.  It's delicious and you will love it.  I will be making it for an upcoming salsa party.


*The dietary plan I am following is The Plan, by Lyn-Genet Recitas.  I really am having a great time with it and I hope to learn about the foods I don't handle well.  The book is an interesting read, but could use a cookbook editor - planning for The Plan can get out of control.  The website offers shopping lists and alternate menu plans, based on previously held dietary restrictions.  It definitely helps if you like to make spreadsheets and are generally analytical like I am.

May 20, 2013

First, Salad

The garden has shown a rather remarkable renewal in the past week.


While I have been convalescing inside, the lettuce has been growing, the red mustard is showing its color, and a meadow of dill as popped up.


Everything is loving the arrival of warm weather, so much that it's time to start thinning the rows and debating what is a weed and what is not.  I began picking out the extra plants and gathered a rather large handful that came together like a bouquet.  Above is a mix of heirloom lettuces, green and red mustard, arugula, watercress, bok choy, and dill.  There's a French Breakfast Radish in there, too, but it's striking color is hidden underneath the rest of the bundle.


I didn't take the radish out to take pictures, because, as you can see, I had to work quickly!  Everyone loves a good, green salad.  Even bonafide carnivores.


With my appetite coming back, nourishment is on my mind.  My go-to salad combination is a quick homemade vinaigrette, dried fruit, and nuts.  Cheese would be awesome, but I only wanted blue cheese or chèvre - of which I'm out.

So now I get to eat peacefully on my back patio, enjoying the weather, eating food I grew, reading a novel. Maybe I won't take off to North Carolina after all.


GARDEN SALAD

  • large bowl of mixed greens, including herbs, washed and rinsed
  • a radish or two, sliced thinly
  • dried fruit of choice (here I used apricots)
  • nuts of your choice (walnuts today)
  • olive oil
  • fresh lemon juice or vinegar of choice
  • dijon or other prepared mustard (not the bright yellow American kind)
  • salt and pepper to taste

Add radishes, fruit, and nuts to bowl of greens.

For the dressing, pour a few tablespoons lemon juice or vinegar into a small mason jar.  Add an equal amount of olive oil - since it separates, you don't need to measure, just eyeball it.  Add a spoonful of mustard, cap, and shake.  Season to taste with salt and pepper.  Basically, it's easier than shaking the hell out of a new bottle of store-bought and still getting grease everywhere, so you may as well make it yourself.

Pour dressing on the salad and toss.  Eat outside.


April 25, 2013

Preserved Lemons (Using What I Have II)

I have actually been to the store since the last post about using up ingredients I already have.


But it was cold again and I was feeling particularly lazy after a long work week. I remembered having a discussion with a friend about preserved lemons recently and decided to make some use out of the ones I made a while back.  Although they start out as just lemons and salt, preserved lemons take on an oil-like texture. I like to mix them into salads like tabouleh, to impart their intense saltiness and tartness, but also to give the salad richness.


On the other hand, I'm fresh out of sun-ripened tomatoes and just-picked cucumbers at this time of year, so I came up with a quick salad from, uh, the pantry. I promise it was still good for me.


See?  Chick peas, greens, and tuna.  Easy-peasy and tasted good, too.  I realize that my pantry may have a couple items in it that the average person does not, like pickled cherries. However, preserved lemons are easy to make, requiring just lemons, salt, and time, so I've included the recipe for them along with this salad.  If you're into spending money, you can purchase them at a specialty foods store for something like $8 for two or three lemons.


PRESERVED LEMONS

  • 10 lemons - organic is strongly suggested
  • 1/2 cup sea salt or canning salt (no added iodine)
  • 4 bay leaves
  • 4 cinnamon sticks
  • 1 t. whole black peppercorns
  • sterilized glass quart canning jar, preferably Weck*

Wash half of the lemons in warm water, scrubbing to remove wax. Rinse and dry well, then cut off a thin slice from each end.  Starting at the stem end, quarter each lemon lengthwise just until you reach the other end of the lemon, but do not cut all the way through.  Remove seeds as you come across them, but you don't have to be meticulous.  Juice the remaining five lemons until you get 1 1/2 cups fresh juice.

Measure a tablespoon of salt into the bottom of the jar.  Working over a bowl, stuff each quartered lemon with about a tablespoon of salt.  As you go, pack each one into the jar, open end up.  Once three have been packed, tuck the bay leaves, cinnamon, and peppercorns down the sides. If you're like me, you will attempt to make a pretty arrangement.  Pack the last two lemons and cover them with the remaining salt, including whatever salt and pulp fell into the bowl while working.  Fill the jar with the lemon juice, leaving about 1/2 inch head space.

Place lid on jar and, if using a standard Mason jar, tighten to "fingertip tight." If you don't know what this means, you are new to canning and preserving. Ask me in the comments and I'll explain.

Place the jar in a cool, dark place for two weeks - but somewhere you'll remember to give the jar a daily shake. After two weeks, your lovely preserved lemons are ready, but I'm pretty sure they'll last indefinitely in the fridge. I'm choosing not to admit when I actually made my current batch.

*Weck jars are perfect for this project, because the lids are made of glass and clamp onto the jar with a rubber seal.  The less chance any metal has in coming in contact with the lemons, the better.


SALAD FROM THE PANTRY, WITH PRESERVED LEMONS
  • 1 can chick peas
  • 1 can tuna
  • 1 quarter preserved lemon, pulp removed
  • leftover cooked greens or veg
  • olive oil
  • salt and pepper to taste

Drain and rinse chick peas well in a colander. Toss in a medium bowl with drained tuna and leftover vegetables.  Stir in enough olive oil to lightly coat the ingredients.  Chop preserved lemon finely and mix into salad.  Salt and pepper to taste.  That's it!

About two servings.

You may want to give the empty tuna can to your cat, so that she can push it around with her nose and entertain you while you're eating.